Courses page
Creating the listing page
Open Ghost admin, then go to Pages and create a new page. Give the page a title, then open the page settings, and change the page URL (slug) to courses. You can optionally add a feature image and an excerpt.
If you like the page description to have links, bold or italic text, remove the excerpt completely and add the text directly to the page content, then add your links and styles.
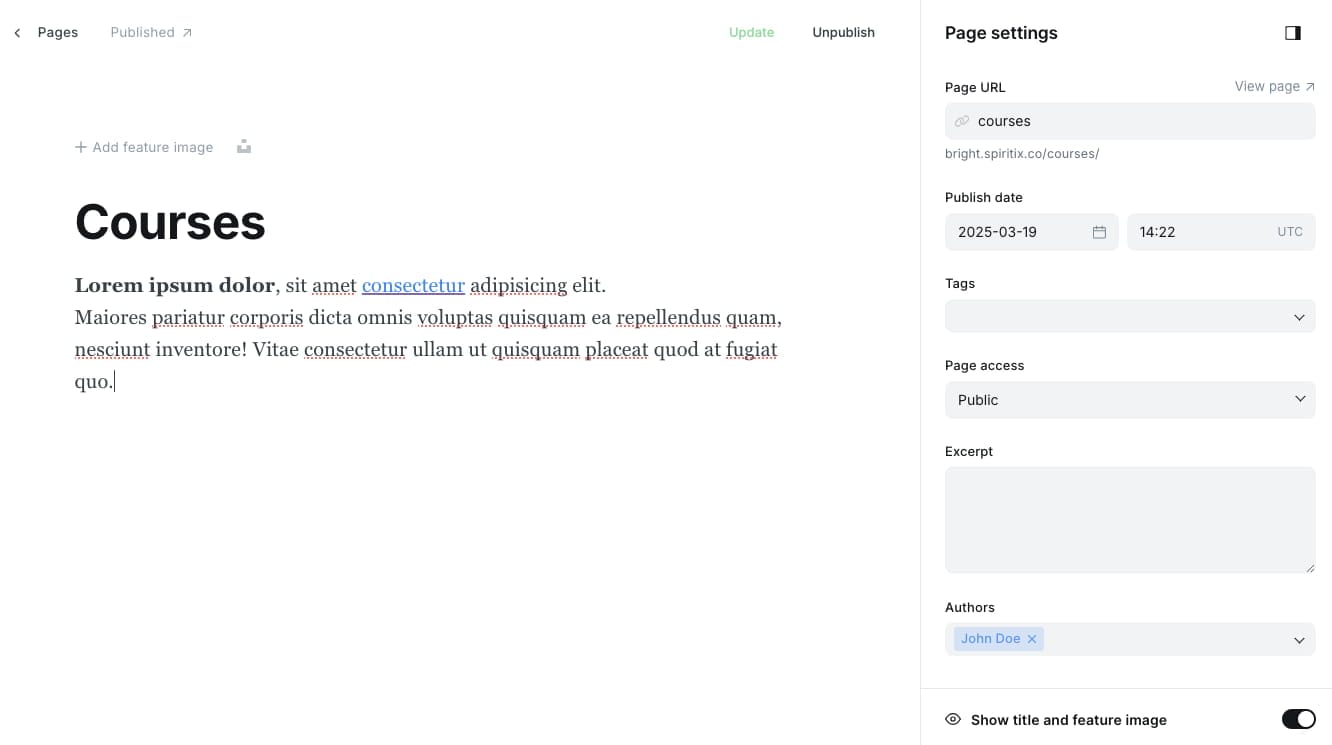
After publishing the page, you should see a similar result:

Creating a course
Step 1: Creating the course tag
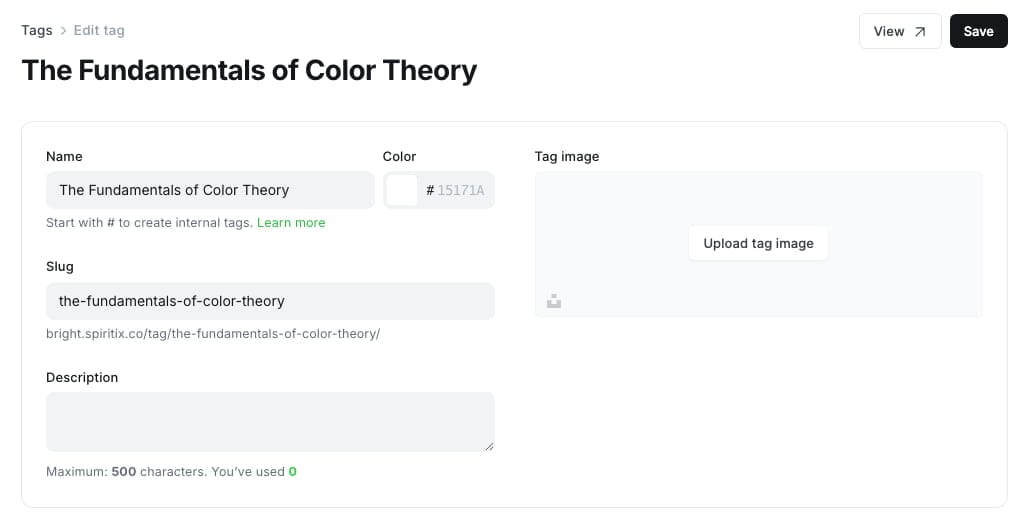
For technical reasons, we need to create a public (not internal) tag for each course. This tag will be used to put the course and its lessons together. The tag's slug will also be part of the lessons' URL.
Open the Ghost admin, then go to Tags and click on the "New tag" button on the top right corner. Then fill in the tag's name (you can just use the course title here). Make sure the slug is correct as it will be part of the lessons' URL, and changing it later will cause SEO issues and require implementing redirects.
Step 2: Creating the course post
- Open Ghost admin, then go to Posts and create a new post. Give it a title and fill in the content. Optionally add an excerpt and a feature image.
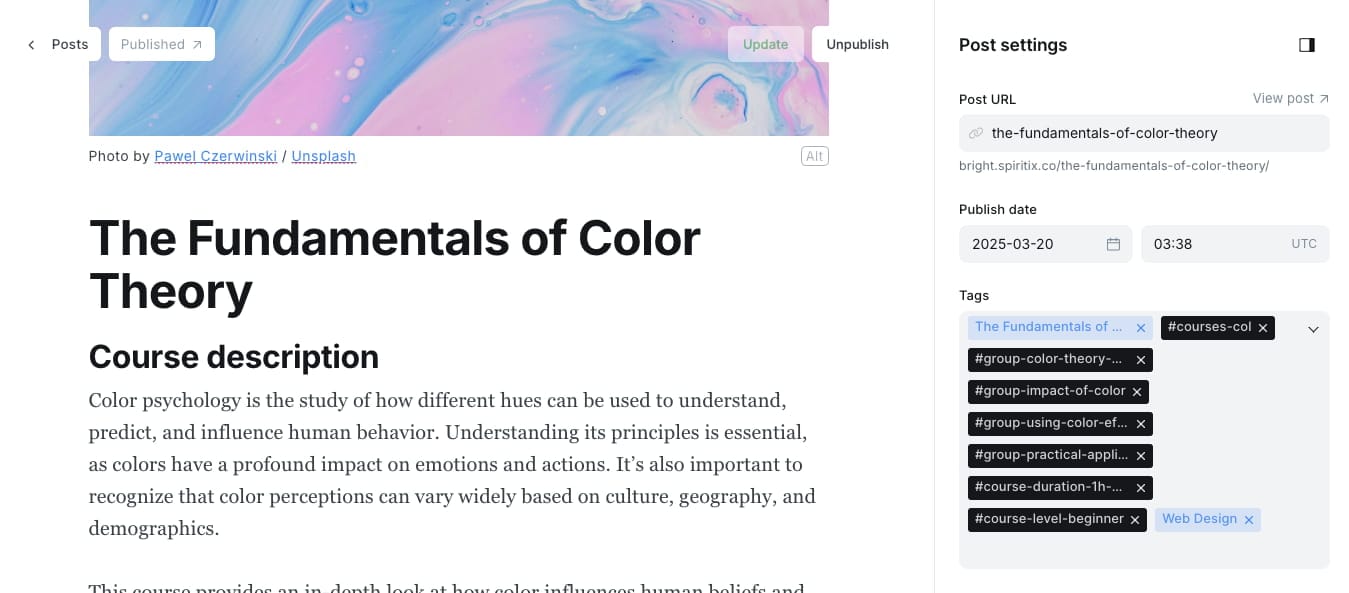
- add the public tag you created previously in the post settings, and make sure it's the primary tag (in Ghost the primary tag is always the first tag).
- Next, we need to make this post part of the courses collection so it's displayed on the listing page. To do that add the internal tag #courses-col to the post (internal tags must start with #).
- Next, we need to create groups for the course lessons (modules). If you prefer not to group your lessons into modules, you can add the tag #groups-disabled to the post and skip this step.
- Open the Ghost admin, then go to Tags and click on the "New tag" button on the top right corner.
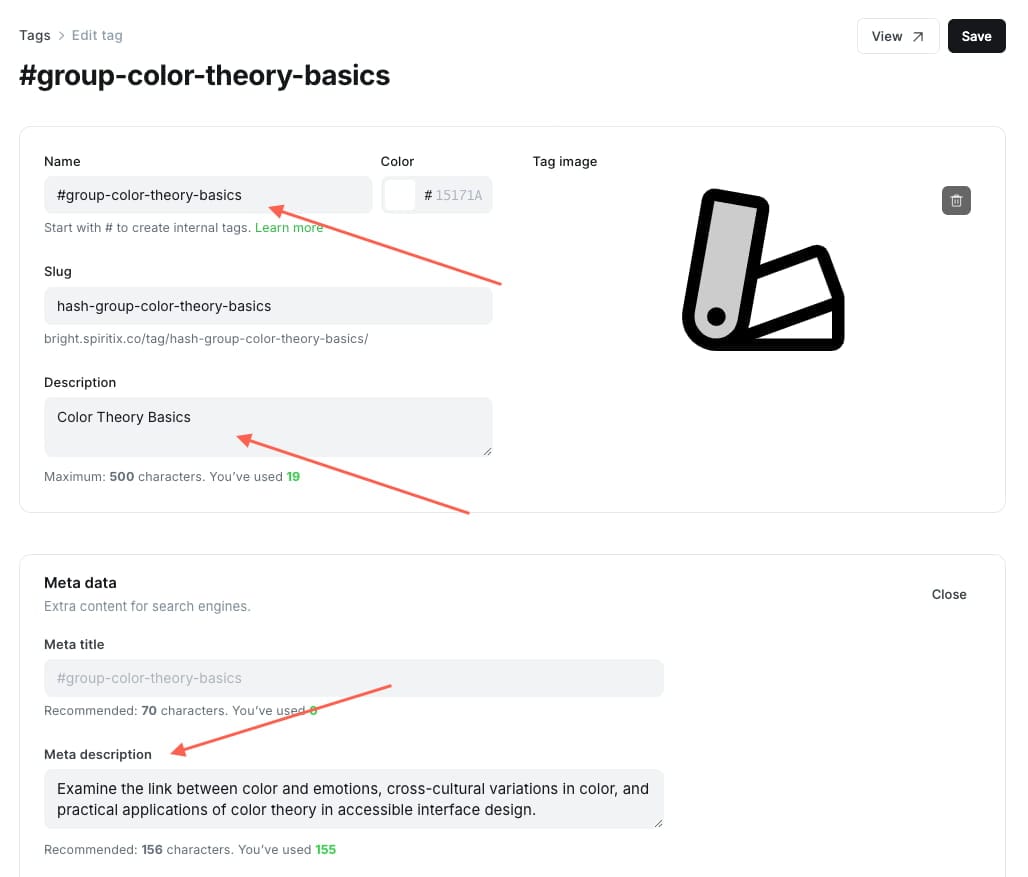
- The tag's name must start with #group- plus some unique text (e.g. #group-color-theory-basics, #group-module-1).
- Next, fill in the tag's description. This is the text that will be visible on the sidebar.
- Optionally, you can add a longer description by clicking "Expand" on the "Meta data" section, then filling in the "Meta description" field.
- You can also upload an icon as the Tag image. A filter is applied to the image to make it work for both light and dark theme. We recommend using a monochrome SVG or transparent PNG. In our demo, we're using duotone icons from the free Phosphor icons pack.
- Finally, save the tag.
- Repeat the process for all the groups, then go to your course post and add the tags in the post settings and save the changes. The groups will appear on your course in the same order they appear on the post settings.
- Next, you can add a duration to your course:
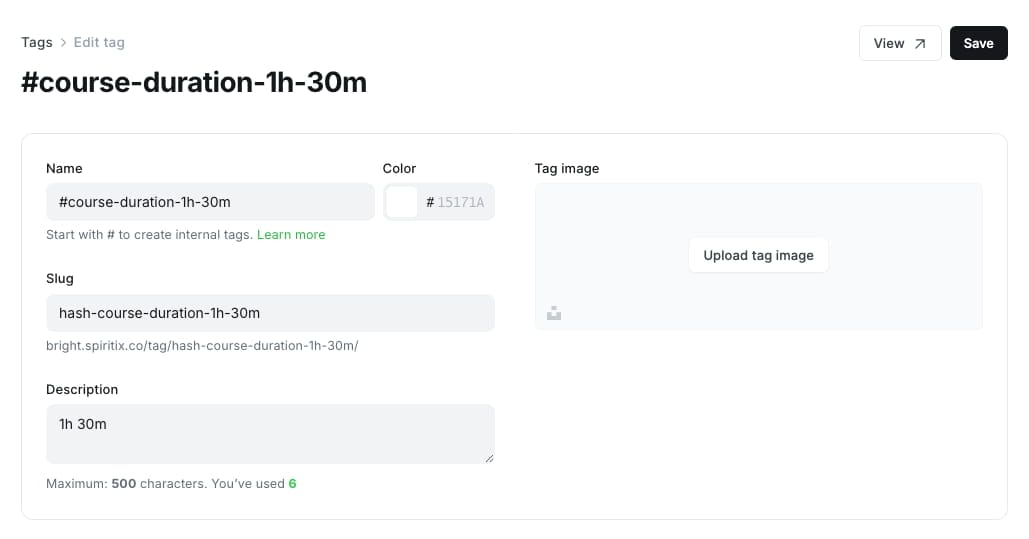
- Open the Ghost admin, then go to Tags and click on the "New tag" button on the top right corner.
- The tag's name must start with #course-duration- plus some unique text (e.g. #course-duration-1h-30m, ...).
- Next, fill in the tag's description. This is the text that will be visible on the website.
- Finally, save the tag, then go to your course post and add the tag in the post settings and save the changes.
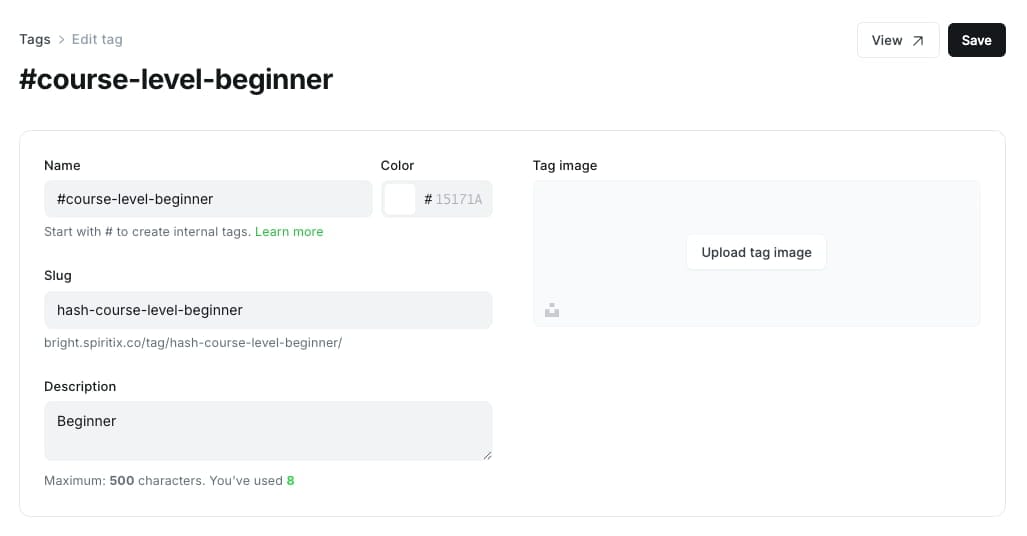
- Similarly, you can add a difficulty level by creating a tag that starts with #course-level- (e.g. #course-level-beginner) and adding it to your course post
- Finally, you can optionally add a public tag as the course category (remember to keep this tag after the main course tag).
The course settings should look like the following:
After publishing the post, you should see it on the listing page:
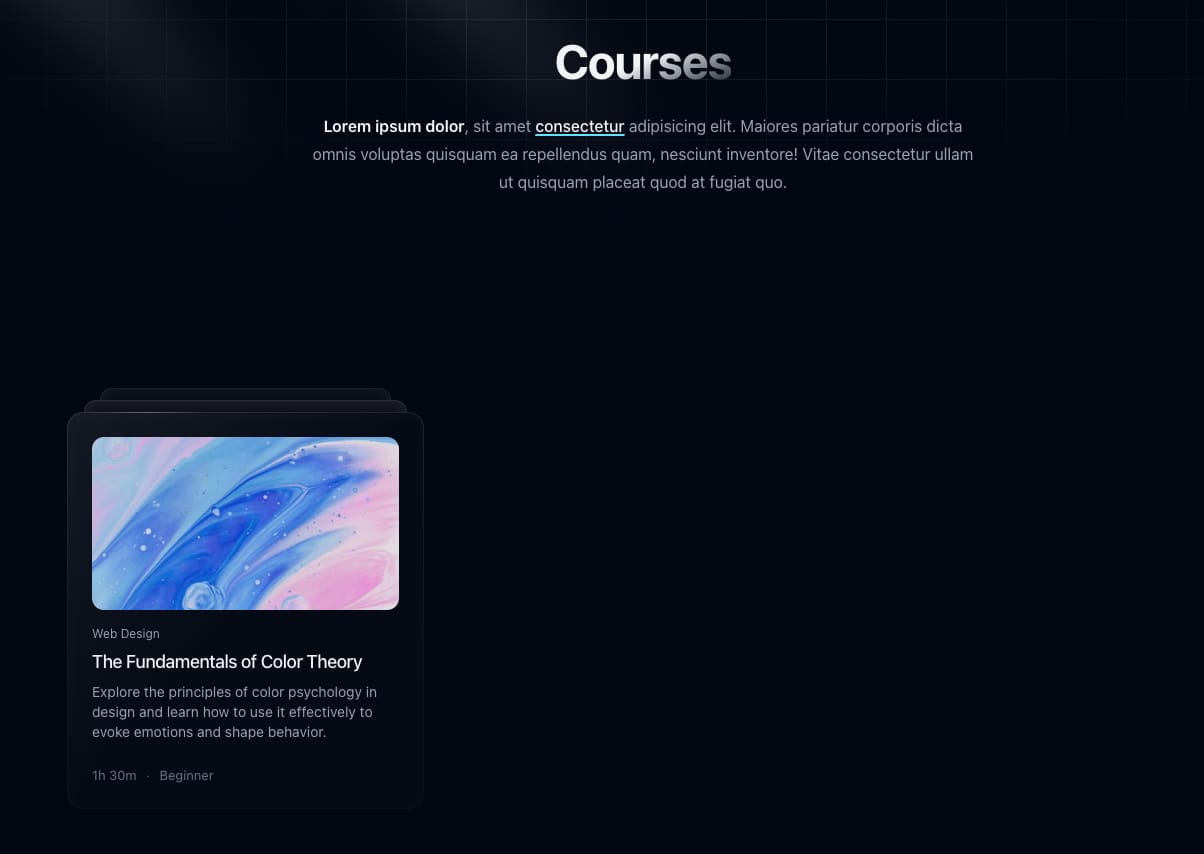
The courses will appear in reverse chronological order (newest first). The latest 3 featured courses will be pinned to the top.
At this point clicking on the button "Start Course" will not work, we need to add some lessons to the course first, that's what we'll explain in the next step.
Step 3: Creating the lesson post
- Open Ghost admin, then go to Posts and create a new post. Give it a title and fill in the content. Optionally add an excerpt and a feature image.
- add the public course tag you created previously in step 1 to the post settings, and make sure it's the primary tag (in Ghost the primary tag is always the first tag).
- Next, we need to make this post part of the lessons collection. To do that add the internal tag #lessons-col to the post (internal tags must start with #).
- Next, add the group tag (you created in step 2) that this lesson should belong to.
- Similarly to the course post, you can add a duration by creating a tag that starts with #lesson-duration- (e.g. #lesson-duration-10m) and adding it to your lesson post
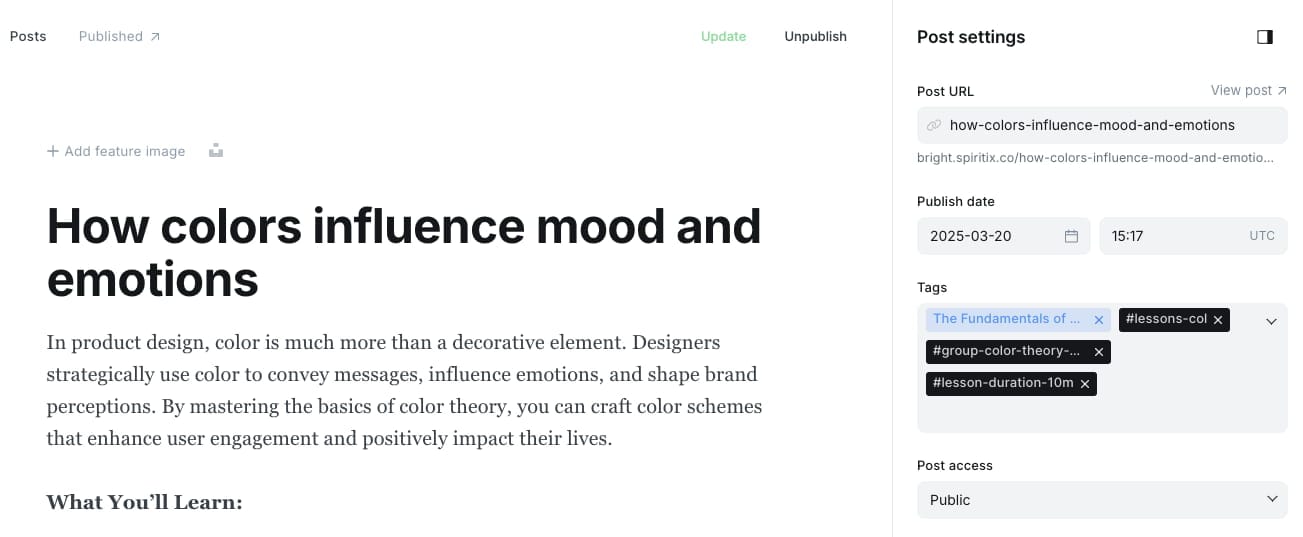
After publishing the post, you should see it appear on the course page and on the course sidebar:
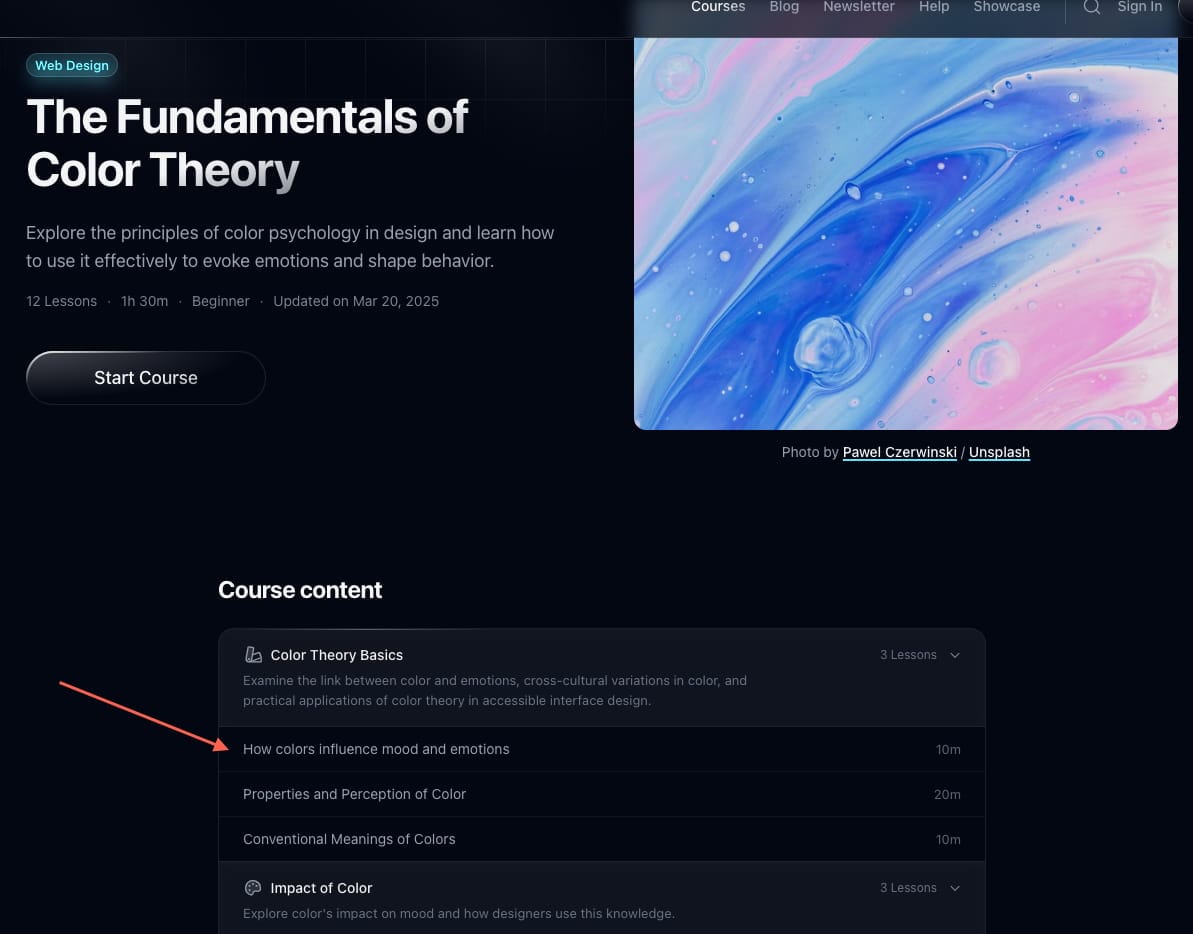
Lessons under the same group will appear in chronological order (oldest first). You can adjust the order by changing the "Publish date" on the post settings.
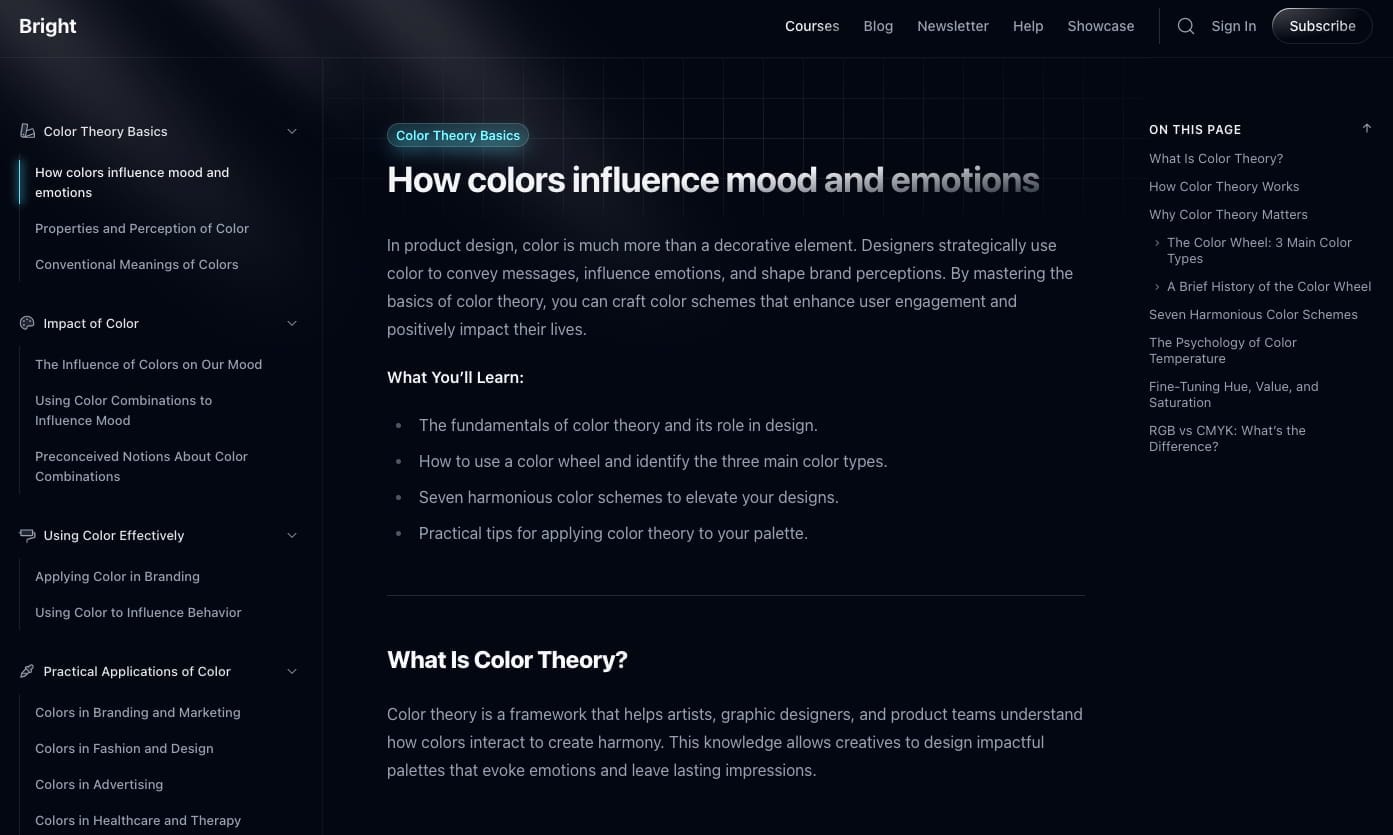
When you visit a lesson, the URL is /courses/<primary tag slug>/<lesson slug>/ e.g /courses/the-fundamentals-of-color-theory/colors-in-advertising/
That is why it is important to use the same value for the course slug and the primary course tag slug, to keep the URL consistent between the course and lessons.