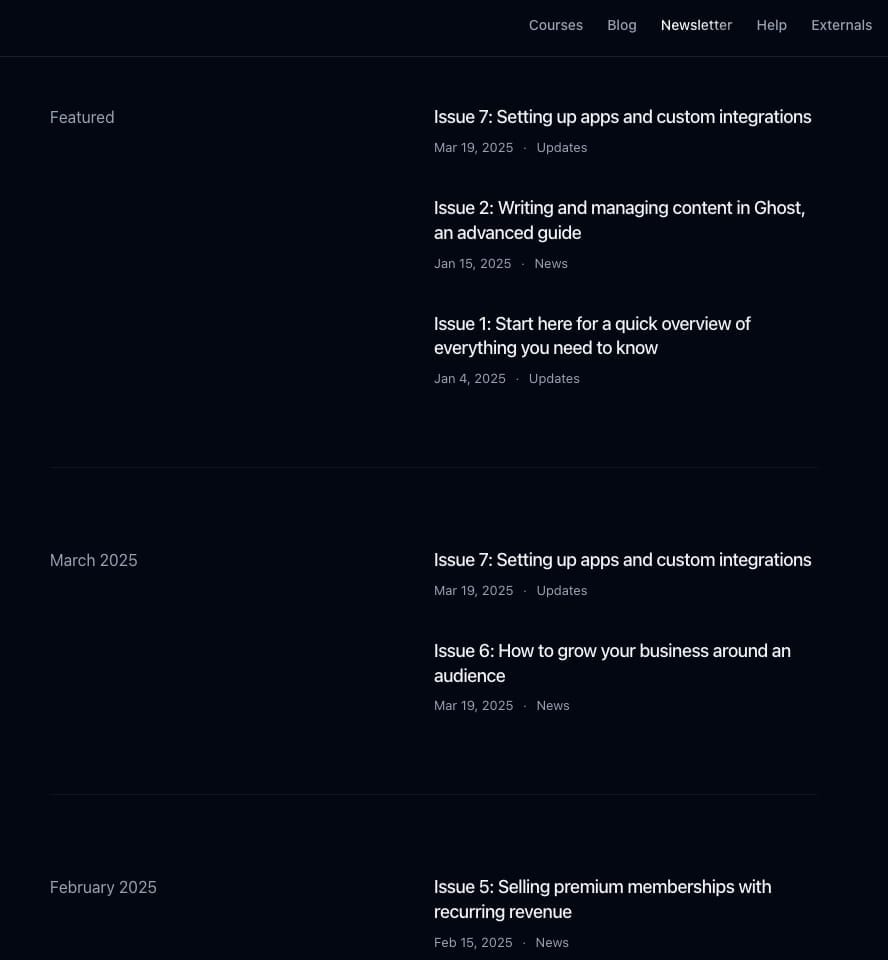
Newsletter page
Creating the page
Open Ghost admin, then go to Pages and create a new page. Give the page a title, then open the page settings, and change the page URL (slug) to newsletter.
Add some text to the post content. You may incorporate links, various text styles, and bullet lists as needed.
You can optionally add a feature image too.
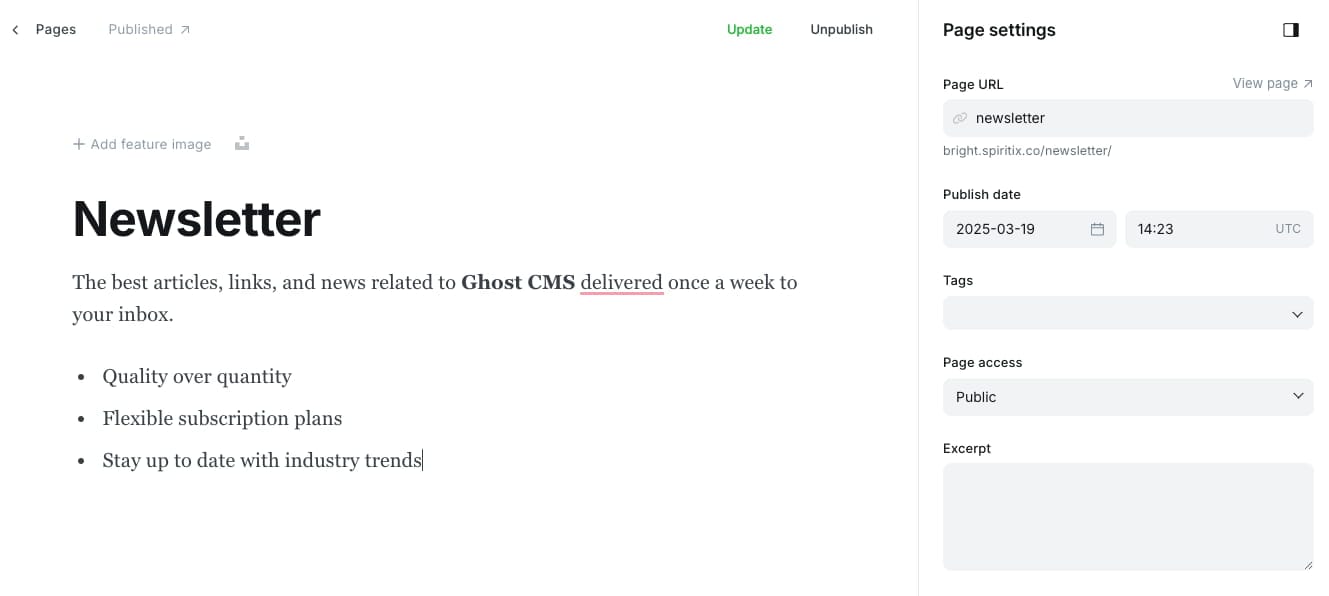
After publishing the page, you should see a similar result:
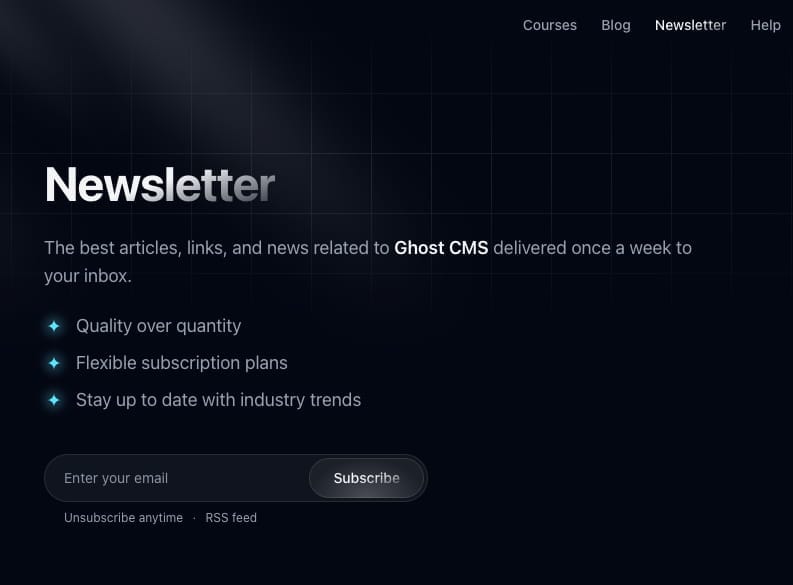
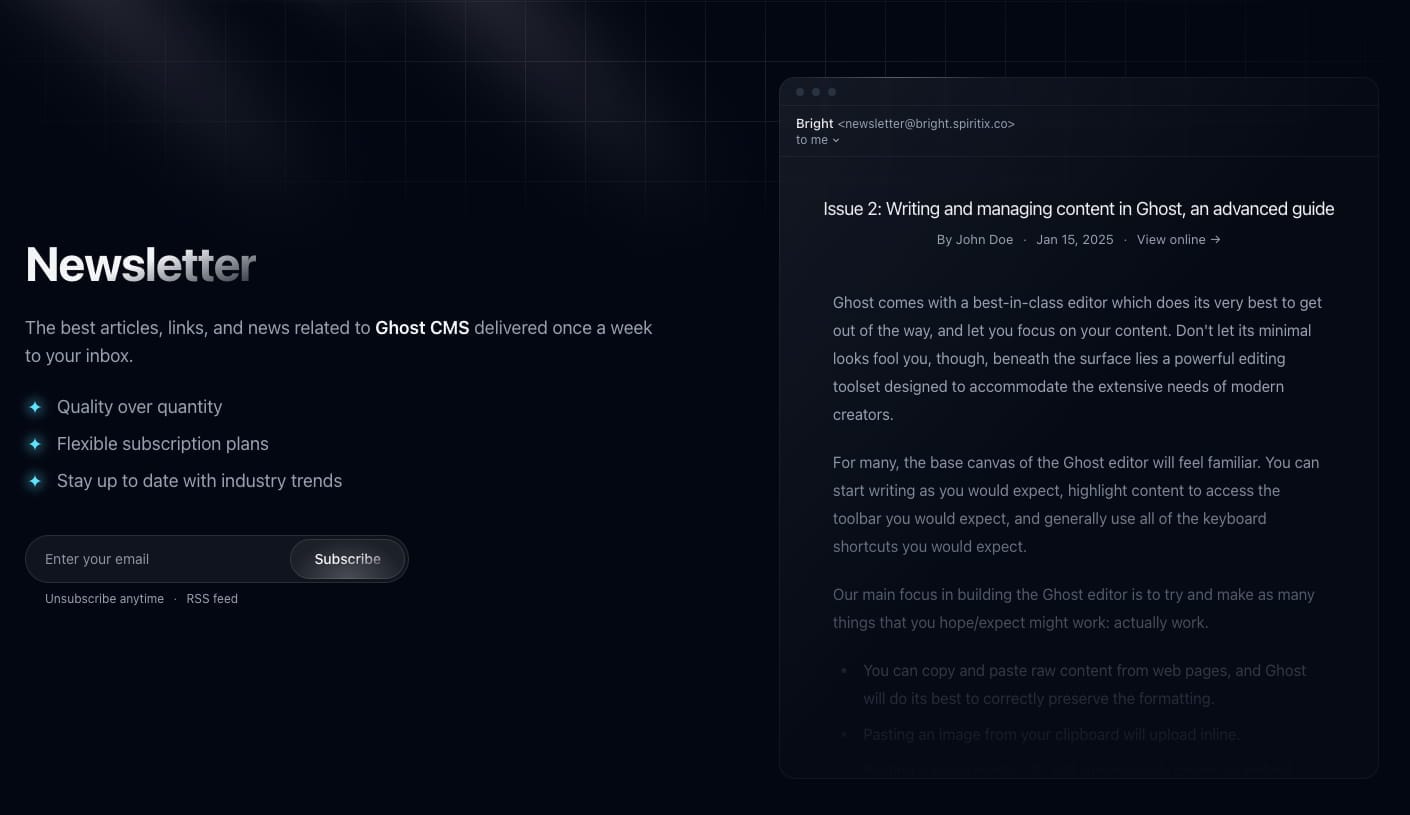
To show a preview add the tag #newsletter-preview in the page settings. This will show the latest, public (free) newsletter post. Featured posts are given priority.
Creating the newsletter posts
The next step is to start filing the newsletter page with posts.
Open Ghost admin, then go to Posts and create a new post. Give it a title and fill in the content.
Next, we need to mark this post as part of the newsletter collection, to do that open the post settings and add the internal tag #newsletter-col to the post (internal tags must start with #).
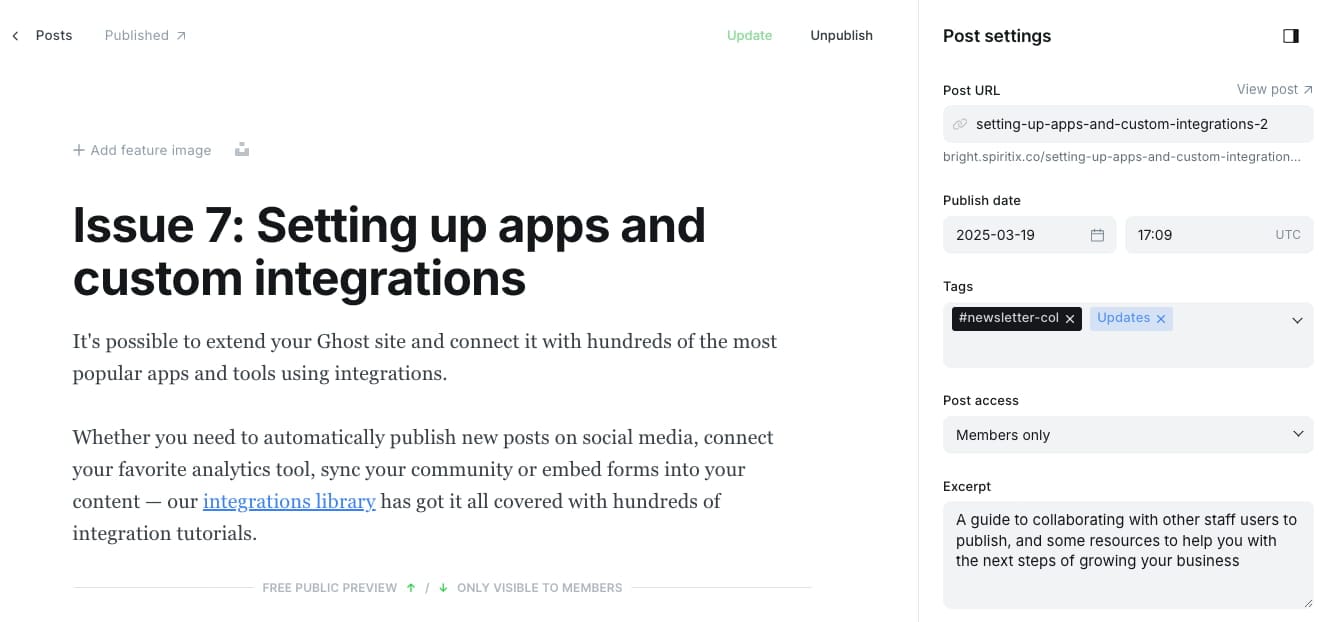
The posts will appear in reverse chronological order (newest first). The latest 3 featured posts will be pinned to the top.
