Contact page
Available since Bright v2.0.0
Since Ghost doesn’t have a built-in contact form feature, you’ll need to use a third-party service. This theme provides an easy integration with Formspree.
Creating the contact page
Step 1: Creating a Formspree form
- First sign up/in to Formspree
- Click "+ Add new" then click "New Form"
- Fill in the form details and click "Create Form"
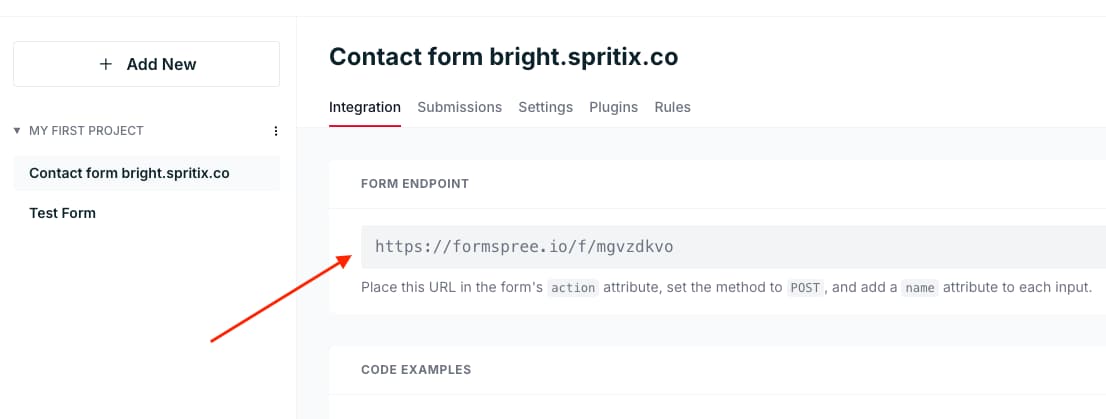
- While your form is selected, navigate to the "Integration" tab and copy the "Form Endpoint"
Step 2: Creating the internal tag
- Open the Ghost admin, then go to Tags and click on the "New tag" button on the top right corner.
- The tag's name must start with #forms-contact (the slug must start with hash-forms-contact)
- Next, click "Expand" on the "Meta data" section, then paste the Formspree "Form Endpoint" in the "Canonical URL" field.
- Finally, click "Save".

Step 3: Creating the page
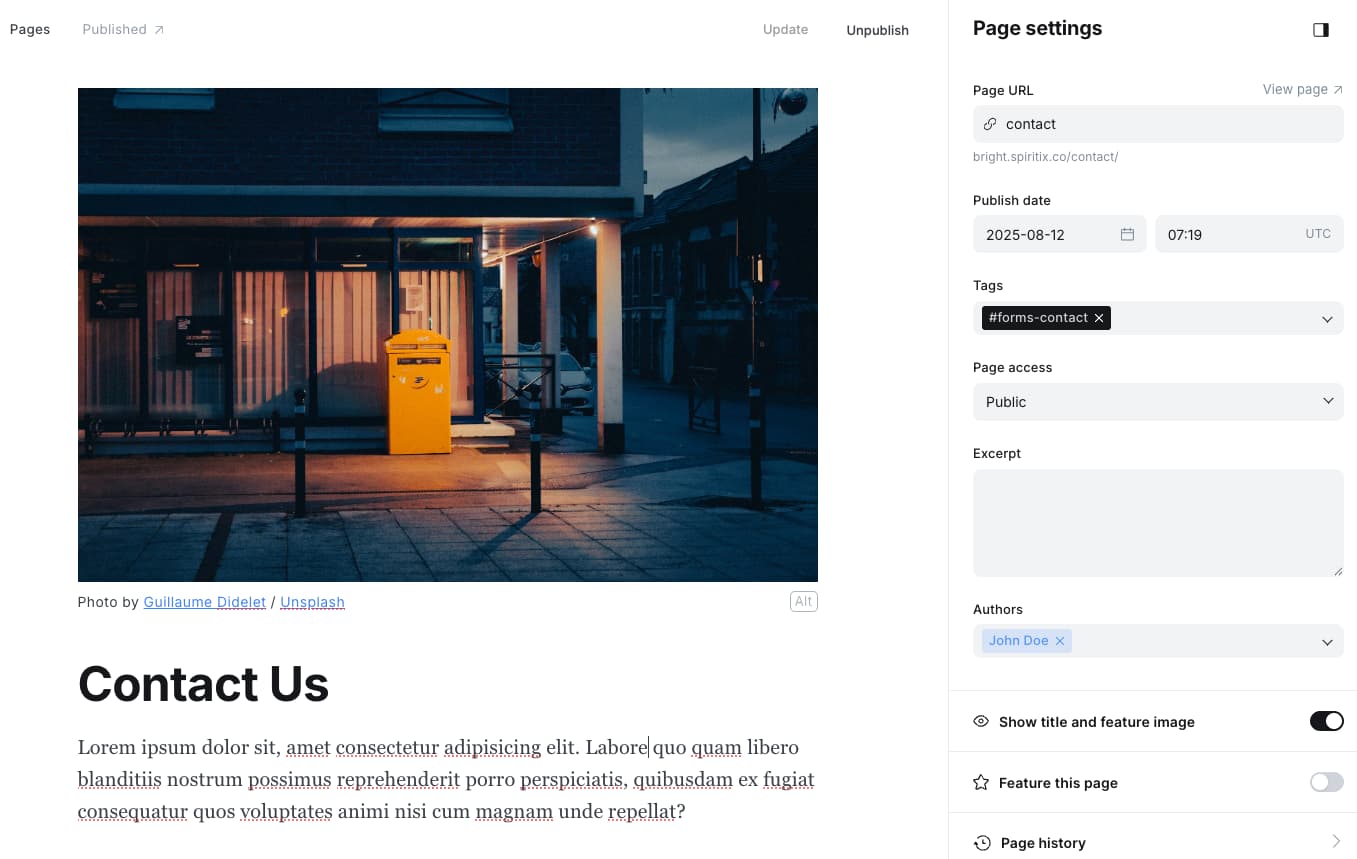
- Open Ghost Admin, go to Pages, and create a new page.
- Give it a title, then open the page settings and change the page URL (slug) to
contact. You can optionally add a feature image, an excerpt, and some content. - Finally, add the internal tag you created in step 2 and publish the page
Migrating from Bright v1.x.x
If you haven’t made any changes to the default routes.yaml file before, you can simply upload the new file included with v2.0.0 to Settings > Labs > Routes and skip the rest.
If you have previously modified the default routes.yaml:
- Go to Settings > Labs > Routes in Ghost.
- Click "Download current routes".
- Open the downloaded file in a text editor.
- Add the new
contactpage underroutes:(not undercollections:) .
routes:
  /rss/:
    template: rss
    content_type: text/xml

  /contact/:
    template: contact
    data: page.contact

  /tags/:
    template: tags
    data: page.tags

  /authors/:
    template: authors
    data: page.authors

collections:
  # ...
- Save the file and upload it to Settings > Labs > Routes by clicking "Upload routes file"
If you're self-hosting, you might need to restart your Ghost server using
ghost restart