Feed page
Creating the page
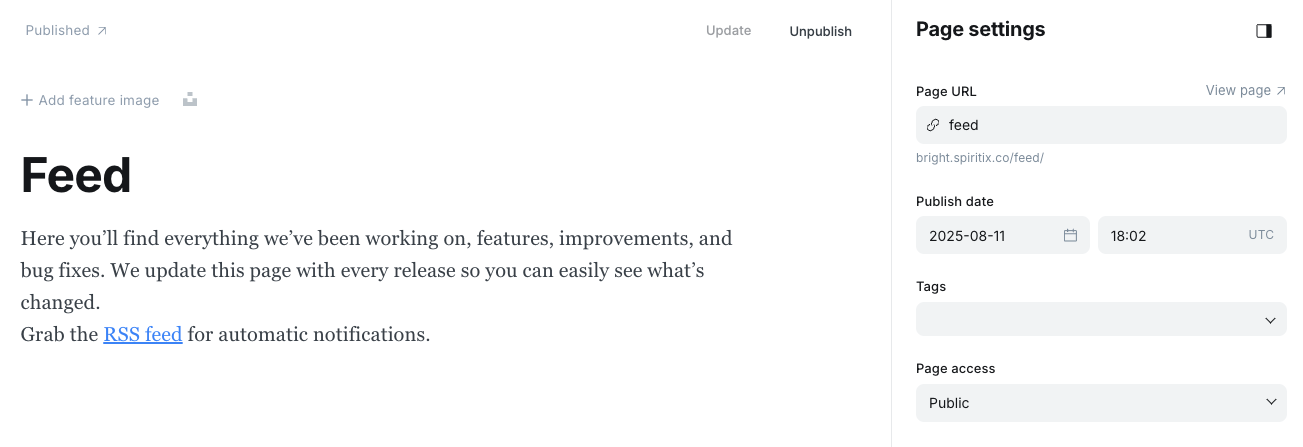
Open Ghost Admin, go to Pages, and create a new page. Give it a title, then open the page settings and change the page URL (slug) to feed. You can optionally add a feature image and an excerpt.
If you want the page description to include links or formatted text (bold, italic, etc.), remove the excerpt entirely and instead add the text directly in the page content, applying your links and styles there.
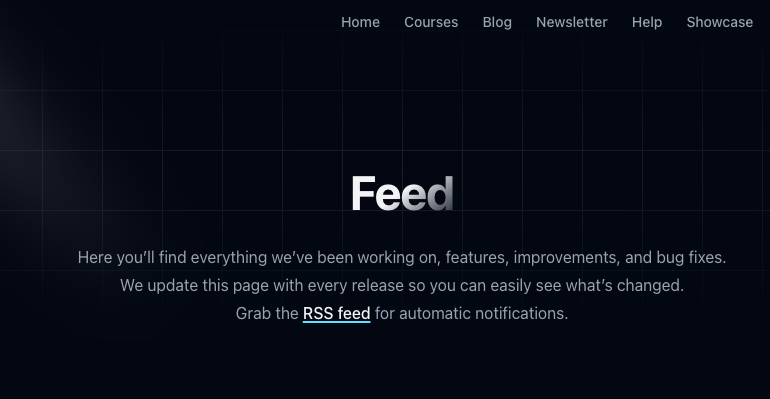
After publishing the page, you should see a similar result:
Creating the feed posts
The next step is to start filing the page with posts.
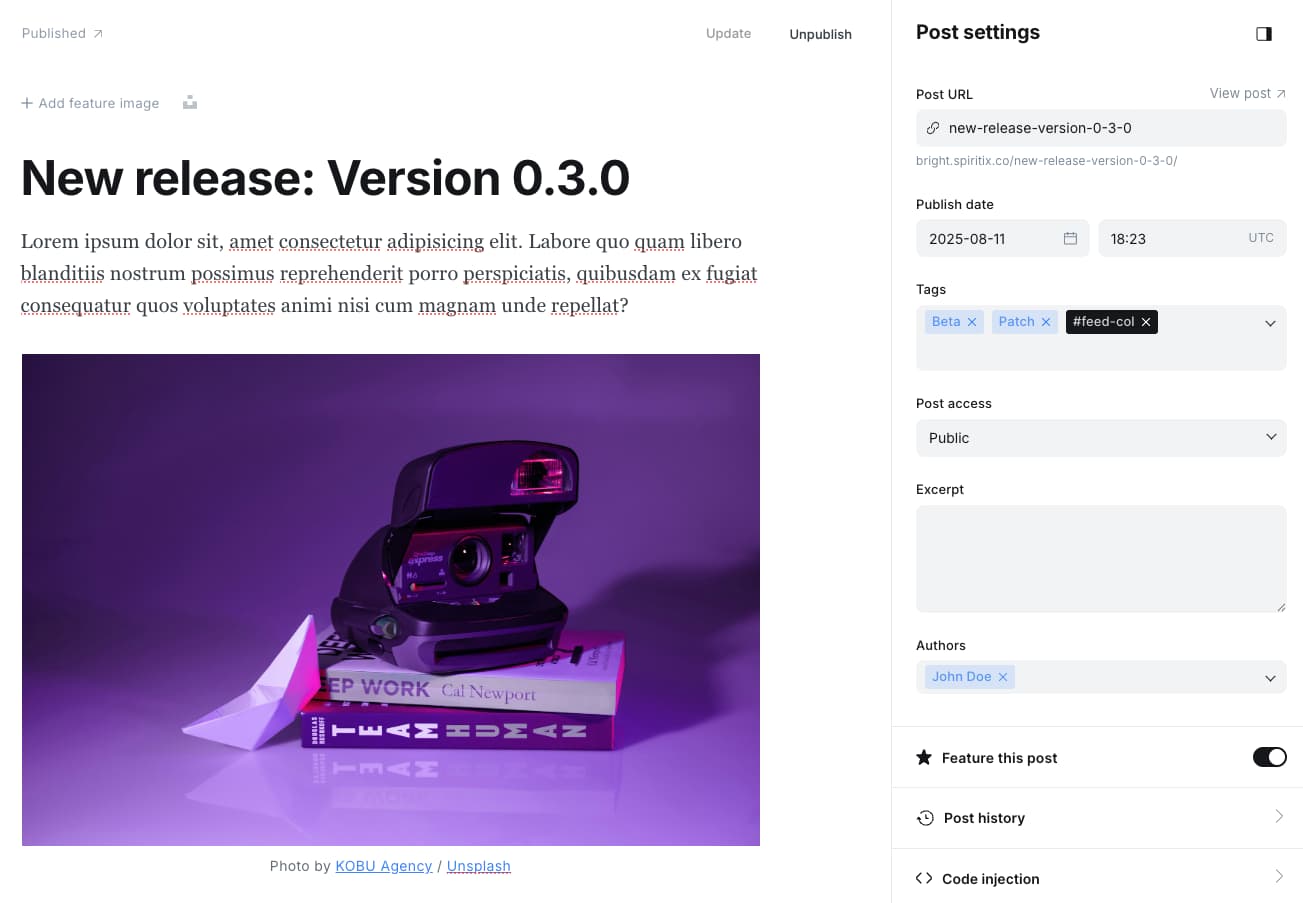
Open Ghost admin, then go to Posts and create a new post. Give it a title and fill in the content.
Next, we need to mark this post as part of the feed collection, to do that open the post settings and add the internal tag #feed-col to the post (internal tags must start with #).
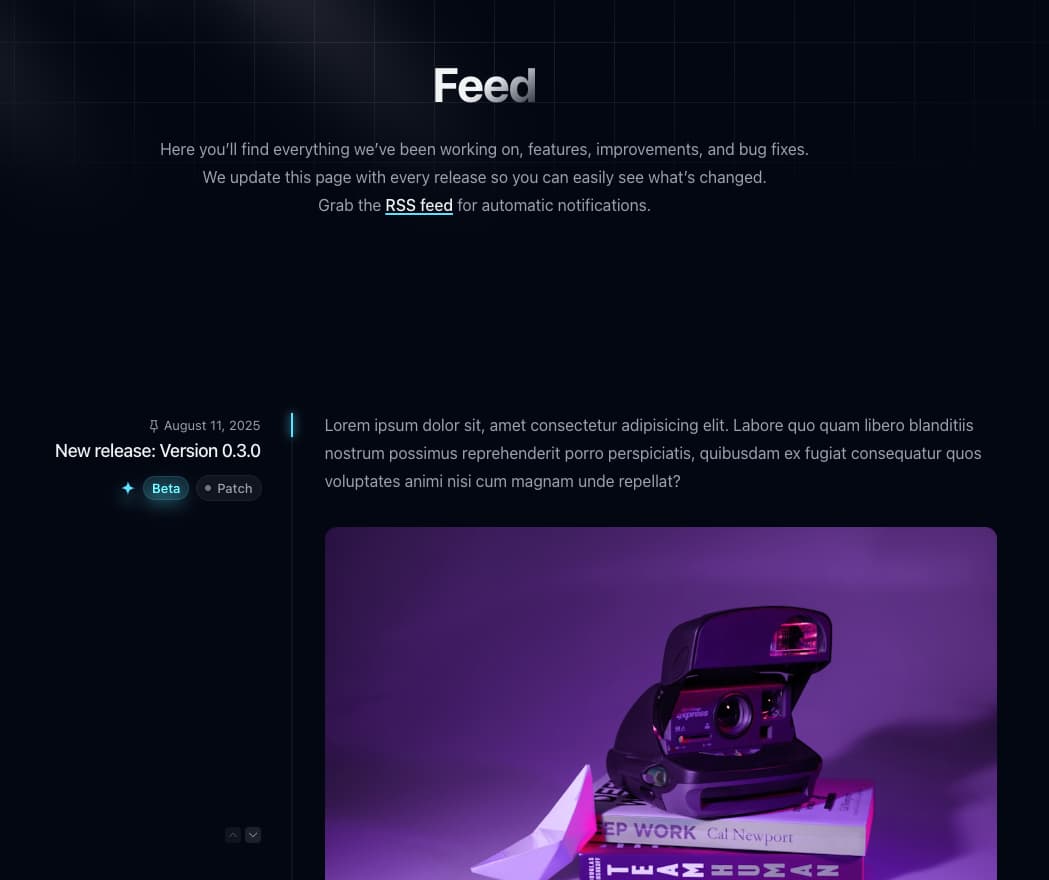
The posts will appear in reverse chronological order (newest first). The latest featured post will be pinned to the top.
Migrating from Bright v1.x.x
If you haven’t made any changes to the default routes.yaml file before, you can simply upload the new file included with v2.0.0 to Settings > Labs > Routes and skip the rest.
If you have previously modified the default routes.yaml:
- Go to Settings > Labs > Routes in Ghost.
- Click "Download current routes".
- Open the downloaded file in a text editor.
- Add the new
feedcollection undercollections:.
collections:
  # ...

  /feed/:
    permalink: /feed/{slug}/
    template: feed
    data: page.feed
    filter: "tags:hash-feed-col"

  # ...
- Save the file and upload it to Settings > Labs > Routes by clicking "Upload routes file"
ghost restart