Changelog page
Create the changelog page
Open Ghost admin, then go to pages and create a new page. Give the page a title (e.g. Changelog, ...).
Next, open the page settings and change the page URL (slug) to changelog. You can optionally add a feature image and an excerpt.
Finally, publish the page.
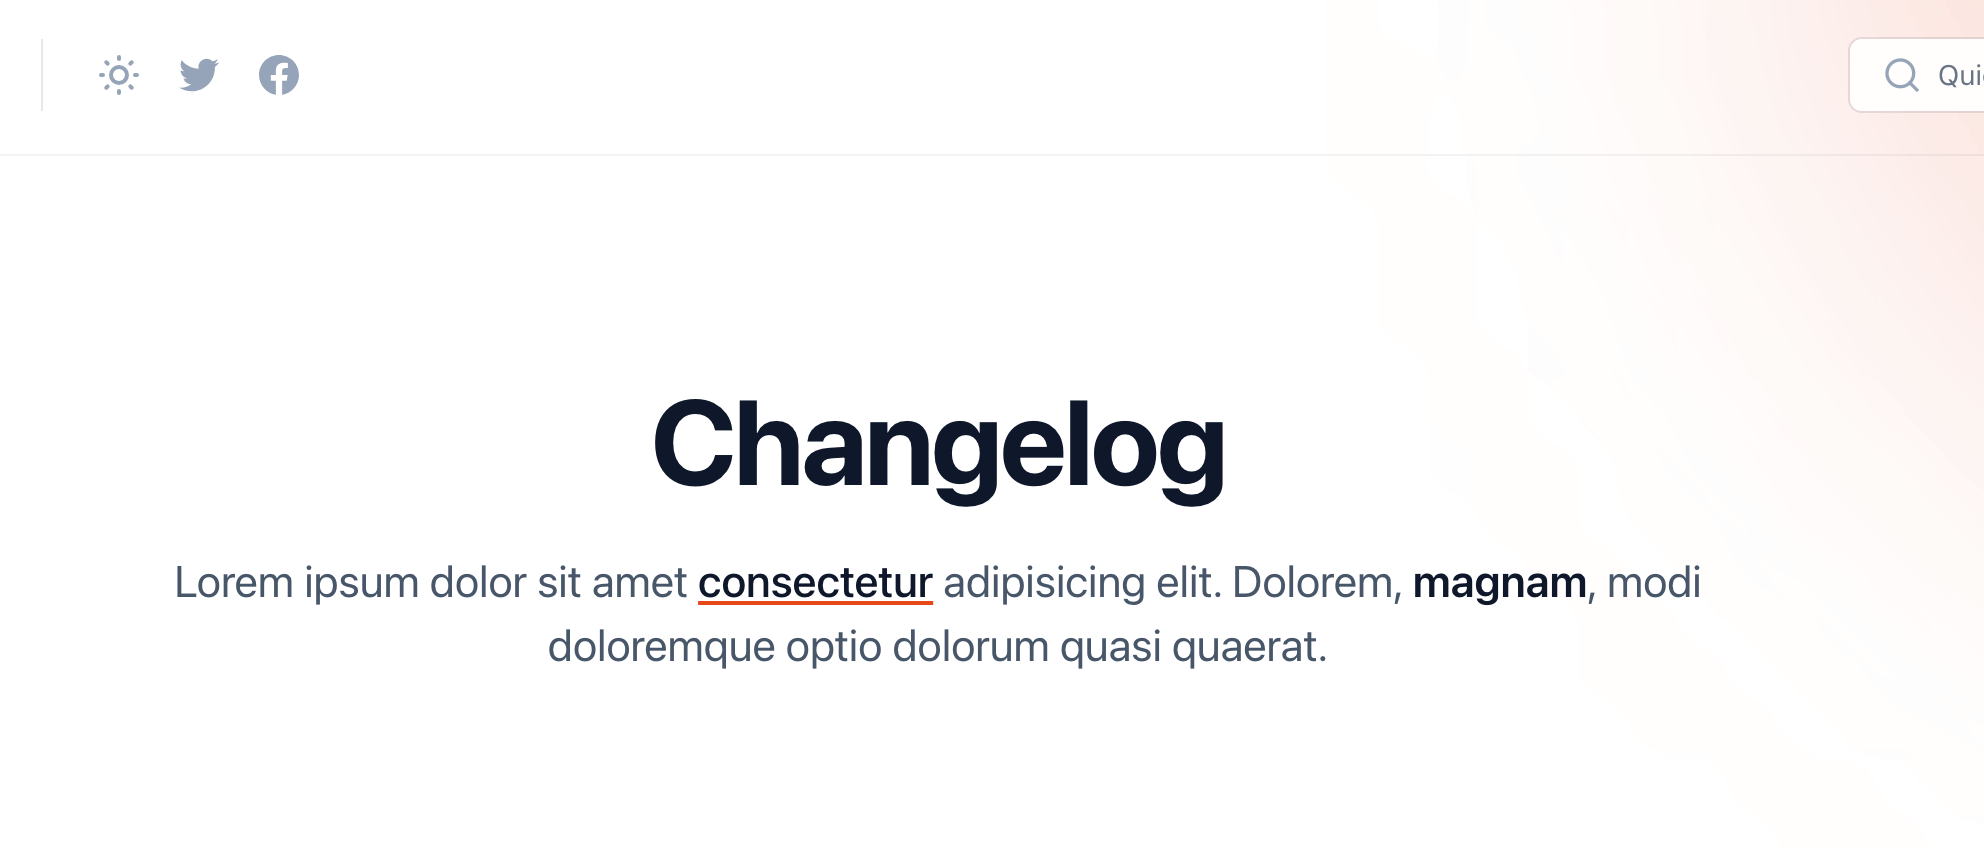
If you'd like the page description to have links, bold or italic text, remove the excerpt completely and add the text directly to the page content, then add your links and styles.
After saving the changes you should see the links and text styles on the page description:
Create the changelog posts
The final step is to start filing the changelog page with posts.
Open Ghost admin, then go to posts and create a new post. Give it a title and fill in the content as you normally would.
Next, we need to mark this post as part of the changelog collection, to do that open the post settings and add the internal tag #changelog to the post (internal tags must start with #).
The posts will appear in reverse chronological order (newest first). Keep in mind that for the changelog posts the complete content is displayed in the timeline, so try to keep it short.